How to Clone a Hard Drive to an SSD or NVMe Without Formatting (Clonezilla, Step by Step)
Forget “Error 87”, frozen Command Prompts and wasted hours. The industry-standard way to copy your whole disk, bit by bit, with Clonezilla — free and open-source.
Cloning a whole disk without reinstalling Windows is possible, free and professional-grade:
- Bare-metal cloning copies the disk sector by sector — far more reliable than copying file by file.
- Tools: Clonezilla (free) plus Rufus to create the boot USB stick.
- Golden rule: the destination disk must be the same size or larger than the source.
- No need to format the new SSD first — Clonezilla overwrites everything automatically.
- If the new disk is larger, extend the C: volume afterwards in Disk Management.
🧬 Clone Your Disk Without Reinstalling Anything
Swapping an old hard drive for an SSD is the upgrade that most transforms an aging PC: boot drops from minutes to seconds and programs open almost instantly. The problem is that nobody wants to reinstall Windows, every program, every driver and every setting from scratch.
Cloning solves exactly that. And instead of tools that try to copy files while Windows is running — and fail with “Error 87” or freeze halfway — we’ll use Clonezilla, the method IT departments use to migrate whole machines.
🧠 What Is “Bare-Metal” Cloning?
There are two ways to copy a disk. The first — the one most tutorials teach — is file copying: a program reads folder by folder inside the running Windows and copies everything to the new disk. It works, but it’s fragile: any locked file, special permission or cloud-synced folder can stall the process or corrupt the result.
The second way — the one we’ll use — is bare-metal (sector-by-sector) cloning. Instead of understanding “what files are”, Clonezilla treats the disk as what it really is: a sequence of raw data blocks. It copies that sequence, bit by bit, whether it’s a Windows file, the registry or the boot area. The result is an identical copy of the original disk, including the boot partitions Windows needs to start.
It’s called “bare-metal” because the destination becomes a replica of the source hardware’s data, with no dependency on any operating-system layer to work.
📋 What Clonezilla Can Do
| Feature | Details |
|---|---|
| Cloning modes | Disk-to-disk, disk-to-image (backup file) and image-to-disk (restore). |
| File systems | NTFS, FAT32, exFAT, ext2/3/4, Btrfs, XFS, HFS+ and many others. |
| Partition tables | Supports both MBR (older) and GPT (modern, used with UEFI). |
| Image compression | gzip, zstd (faster) or no compression at all. |
| Network cloning | Save or restore images to remote servers via SSH, Samba (CIFS) or NFS. |
| Multicast (Clonezilla SE) | Clones dozens of computers at once on the same network — popular in computer labs. |
| Encryption | Can protect the generated image with AES encryption. |
| Integrity check | Can verify, after cloning, that the image is intact and restorable. |
| Licence | 100% free and open-source, built on DRBL, Partclone, Partimage and udpcast. |
| Boot compatibility | Works with Legacy BIOS and UEFI (Secure Boot may need to be temporarily disabled). |
Today we’ll use only the most common mode — disk to disk — but it’s good to know you can also use Clonezilla as a full-image backup tool.
✅ Before You Start: Checklist
- Check the old disk’s health: if it’s already failing, cloning stresses it — copy your most important files first. See the 2-minute test that shows whether a drive is dying.
- Fix file system errors first: run
chkdsk C: /fso you don’t clone the corruption along with it — details in the CHKDSK guide. - Suspend BitLocker if it’s on: otherwise the new disk may ask for the recovery key on first boot. Command below.
- Both disks connected at the same time: on laptops with a single slot, use a USB-to-SATA/NVMe adapter for the new drive.
- Laptop plugged into power: a battery dying mid-clone is one of the worst ways to lose an afternoon.
manage-bde -protectors -disable C: -RebootCount 1If you’re not sure whether BitLocker is active, see where to find your BitLocker recovery key — and note the key down before any disk change.
⚡ Getting Clonezilla From the Official Source
Why do native tools fail where Clonezilla succeeds? Tools that read Windows files abort the whole process at the first locked permission, minor corruption or cloud-synced folder. Clonezilla is a physical cloner: it ignores those problems and makes an identical, block-level copy.
Never download infrastructure tools from alternative download sites. Get the official image from the open-source project:
1. Go to: https://clonezilla.org/downloads.php
2. Choose the "stable" release
3. [CPU Architecture]: select "amd64"
4. [File Type]: select "iso"
5. Click Download
Save this ISO file (about 400 MB) in a safe folder. It’s the “engine” of the rescue USB stick we’ll create next.
🔑 Preparing the USB Stick With Rufus
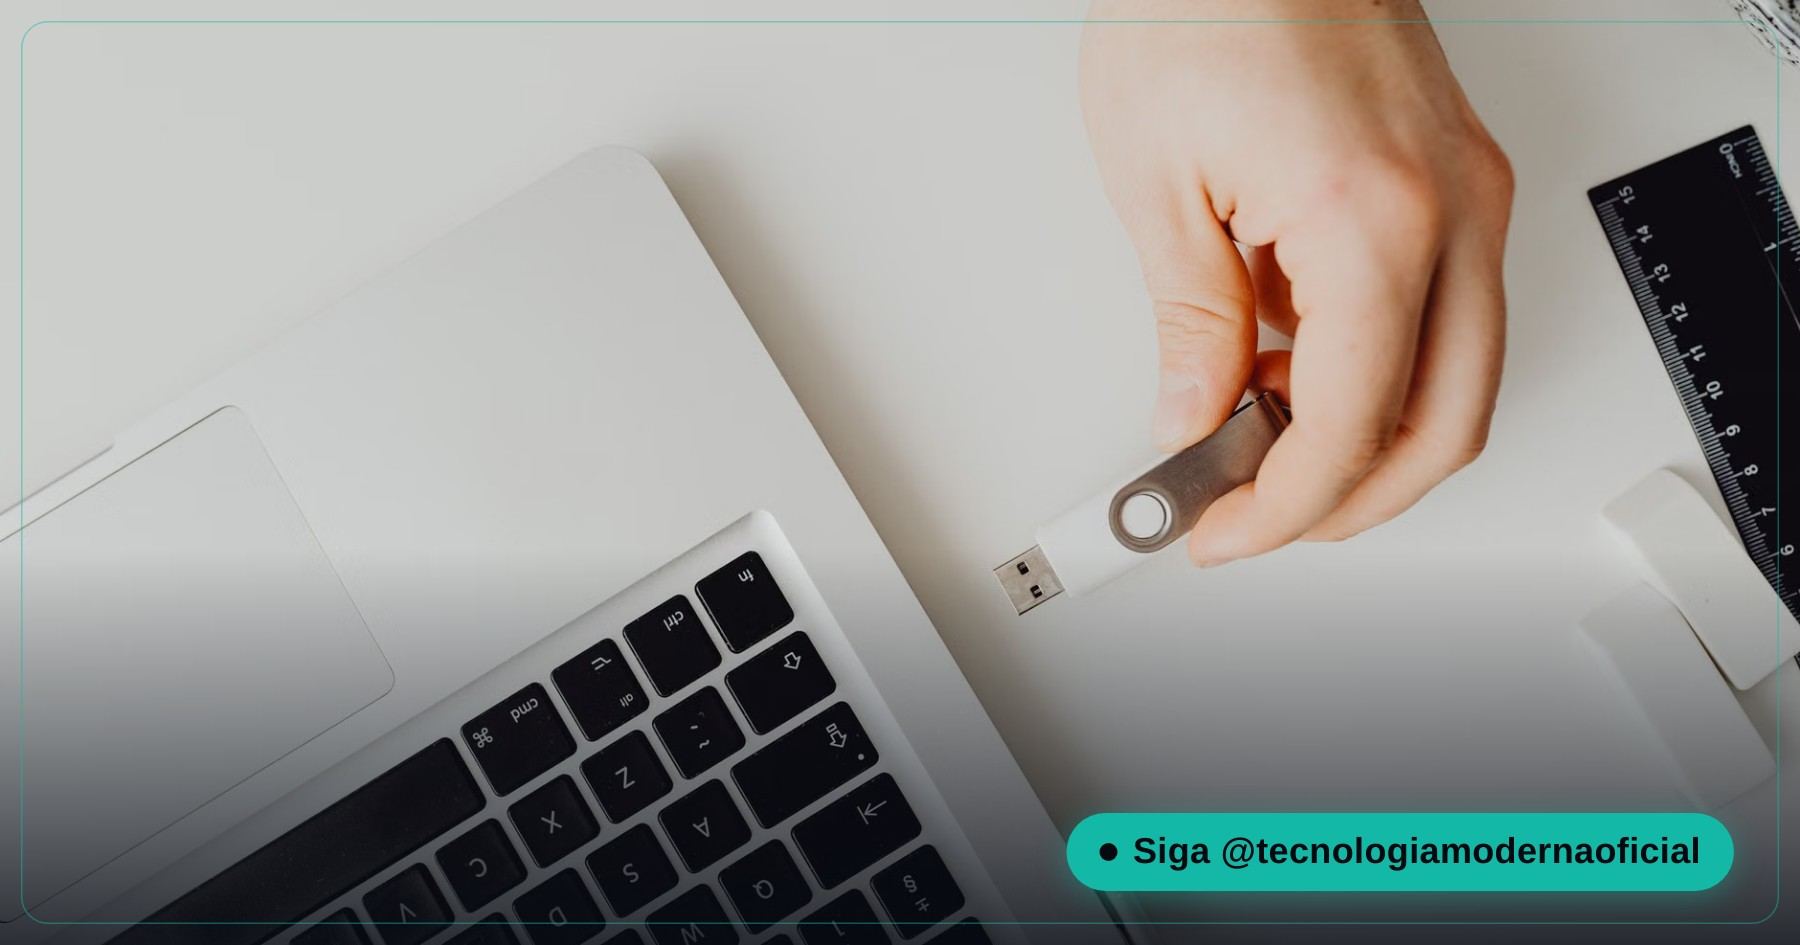
Windows can’t clone itself while its files and registry are in use. To get around that, we start the machine from an external environment, turning an ordinary USB stick into a migration tool with Rufus, a light, portable utility.
1. Download Rufus from the official site: https://rufus.ie
2. Run it (no installation needed)
3. [Device]: make sure your USB stick is selected at the top
4. [Boot selection]: click SELECT and pick the Clonezilla ISO
5. [Partition scheme]: leave it on the default Rufus suggests
6. Click START
7. If it asks to download extra files (Syslinux/GRUB), click Yes
8. Choose "Write in ISO Image mode" and confirm (OK)
When the progress bar fills and the status changes to READY, your engineering USB stick is armed. You can close Rufus.
🧪 Running Clonezilla
With both disks installed and the USB stick connected, turn the computer on while pressing the boot menu key (F8, F11, F12 or Del, depending on the motherboard) and choose the USB stick. From here the mouse doesn’t work — use only the arrow keys and Enter.
1. Select "Clonezilla live (VGA/Default settings)"
2. Language: "en_US"
3. Keyboard: "Keep" the default layout
4. Select "Start Clonezilla"
5. MODE: "device-device" (disk to disk)
6. LEVEL: "Expert mode"
7. TYPE: "disk_to_local_disk"
8. SOURCE: select your OLD disk
9. TARGET: select the NEW disk
10. Advanced option: mark "-icds" (Space bar)
    -> skips the destination size check, useful when sizes differ by a few GB
11. Confirm by typing "y" and Enter when asked
Read the source and target lines carefully before confirming: choosing them the wrong way round copies the empty new disk over your old one. That is the only truly irreversible mistake in this whole process.
📐 Using the Extra Space on a Larger Disk
On many PCs, “Extend Volume” appears greyed out after cloning. The reason is almost always a small Recovery partition sitting right after C: — Windows can only extend into unallocated space that is immediately next to the volume.
- The simplest option: in Clonezilla’s expert mode, pick the
-k1option (create the partition table proportionally), so partitions grow with the new disk from the start. - If you already cloned: the full video on the original post shows how to unlock the partition and extend C: without formatting.
- Don’t delete partitions at random: the EFI partition is what makes Windows boot. When in doubt, leave the extra space for a separate D: drive for files.
🔧 Common Errors and How to Fix Them
| Problem | What to do |
|---|---|
| Stuck at 0% or very slow | Usually a USB 2.0 port instead of USB 3.0, or a poor-quality SATA cable or adapter. Change the port and, if possible, the disk cable. |
| Target SSD doesn’t show up in the list | Often the storage controller in the firmware is set to RAID instead of AHCI. Change the SATA/NVMe mode to AHCI. |
| “Target is smaller than source” with a larger SSD | The common confusion between GB (base 1000) and GiB (base 1024) in manufacturers’ marketing. Leave a few GB of margin, or use -icds. |
| PC won’t boot after the clone | Usually a Legacy/UEFI boot mode mismatch, Secure Boot blocking the loader, or the boot order still pointing to the old disk. |
| Screen looks frozen on “Press Enter to continue” | Normal — the wizard is just waiting for you to confirm that step. Press Enter. |
| Windows asks for a BitLocker key after cloning | Enter the recovery key (Microsoft account → Devices) — and next time suspend BitLocker before cloning. |
If Windows itself shows oddities after migrating, the free built-in repair tools are the next step: see SFC and DISM, the 2 commands that repair Windows. Prefer a graphical tool that runs inside Windows? Hasleo Disk Clone is a friendly alternative.
FAQ
Do I need to format the new SSD before cloning?
No. Clonezilla overwrites the whole destination disk during the process — formatting first is redundant.
Does cloning shorten the SSD’s life?
Not noticeably. It’s a single large sequential write, very different from the accumulated wear of daily use.
Can I clone a larger hard drive to a smaller SSD?
Only if the space actually used fits on the SSD, and it requires extra steps. By default Clonezilla refuses, to protect your data — that’s the golden rule.
Do I need to remove the old disk after cloning?
It’s not mandatory. But if you leave both connected, enter the firmware and make sure the new SSD is the first boot disk — otherwise Windows may start from the old one.
Does it work on a laptop with an M.2 NVMe SSD?
Yes, as long as both disks are accessible at the same time. On laptops with a single disk slot, use an external USB adapter for one of them.
What if Windows won’t start after the clone?
First check that the boot mode (Legacy or UEFI) matches and that the EFI partition was copied — that explains most cases. Then check the boot order.
🎮 How much did you learn?
Once you pick an answer it locks in — reload the page to try again.
1. What is “bare-metal” cloning?
2. Which program do we use to create the boot USB stick?
3. What is the golden rule of cloning?
4. Do I need to format the new SSD before cloning?
5. The PC won’t start after cloning. What’s the most common cause?
Esse conteúdo ajudou você?
Compartilha com alguém que também vai curtir — é rapidinho e ajuda muito o nosso trabalho a chegar em mais gente.
Conhecimento só tem valor quando compartilhado.
Manter essa estrutura de laboratórios funcionando e produzir conteúdos de engenharia de forma totalmente gratuita e acessível exige tempo e dedicação diária à bancada. Esse guia salvou os seus arquivos? Você pode contribuir diretamente para manter o nosso trabalho independente forte. Apoie doando qualquer valor!
Quer apoiar a nossa bancada independente?
[email protected]