
Windows Won’t Start or Stuck on “Automatic Repair”? 6 Commands That Bring the PC Back Without Reinstalling
“Your PC did not start correctly”, Automatic Repair looping forever, error 0xc000000f… Before you wipe everything, follow the right order: the easy fixes first and, if needed, the Recovery Command Prompt commands I use at my workbench — each one explained.
The order that solves most cases:
- Unplug everything from USB (flash drives, external drives, printer) and restart. Sounds silly, fixes more than you’d think.
- Advanced options → Uninstall Updates: if it started after an update, this is your first shot.
- System Restore takes Windows back to an earlier point without deleting your files.
- Command Prompt: find the Windows drive letter (it’s almost never C:), run
chkdsk, offlinesfcand rebuild the boot withbcdboot. - Last resort: “Reset this PC” keeping your files — that’s still not a full wipe.
- Introduction
- The Most Common Causes (and How to Recognize Each One)
- First: the Silly Test That Fixes Many Cases
- How to Get to “Advanced Options” (WinRE)
- Uninstall the Update That Broke Everything
- System Restore: the Time Machine
- Opening the Recovery Command Prompt
- Find Your Windows Drive Letter (It’s Almost Never C:)
- chkdsk: Fixing the File System
- Offline sfc: Replacing Corrupted Windows Files
- DISM: Undoing the Update That Stopped Halfway
- bcdboot: Rebuilding the Startup Path
- Safe Mode: Removing the Guilty Driver
- Reset This PC Keeping Your Files (Still Not a Wipe)
- Recovery Drive: Make One Today, Before You Need It
- Summary: the 6 Commands in Order
- Frequently Asked Questions

😰 The PC Turned On and Got Stuck on the Blue Screen
You turn on the computer and, instead of the desktop, you get “Preparing Automatic Repair”, then “Diagnosing your PC” and finally “Your PC did not start correctly” with two buttons: Restart and Advanced options. You click Restart… and it all happens again. That’s the famous automatic repair loop.
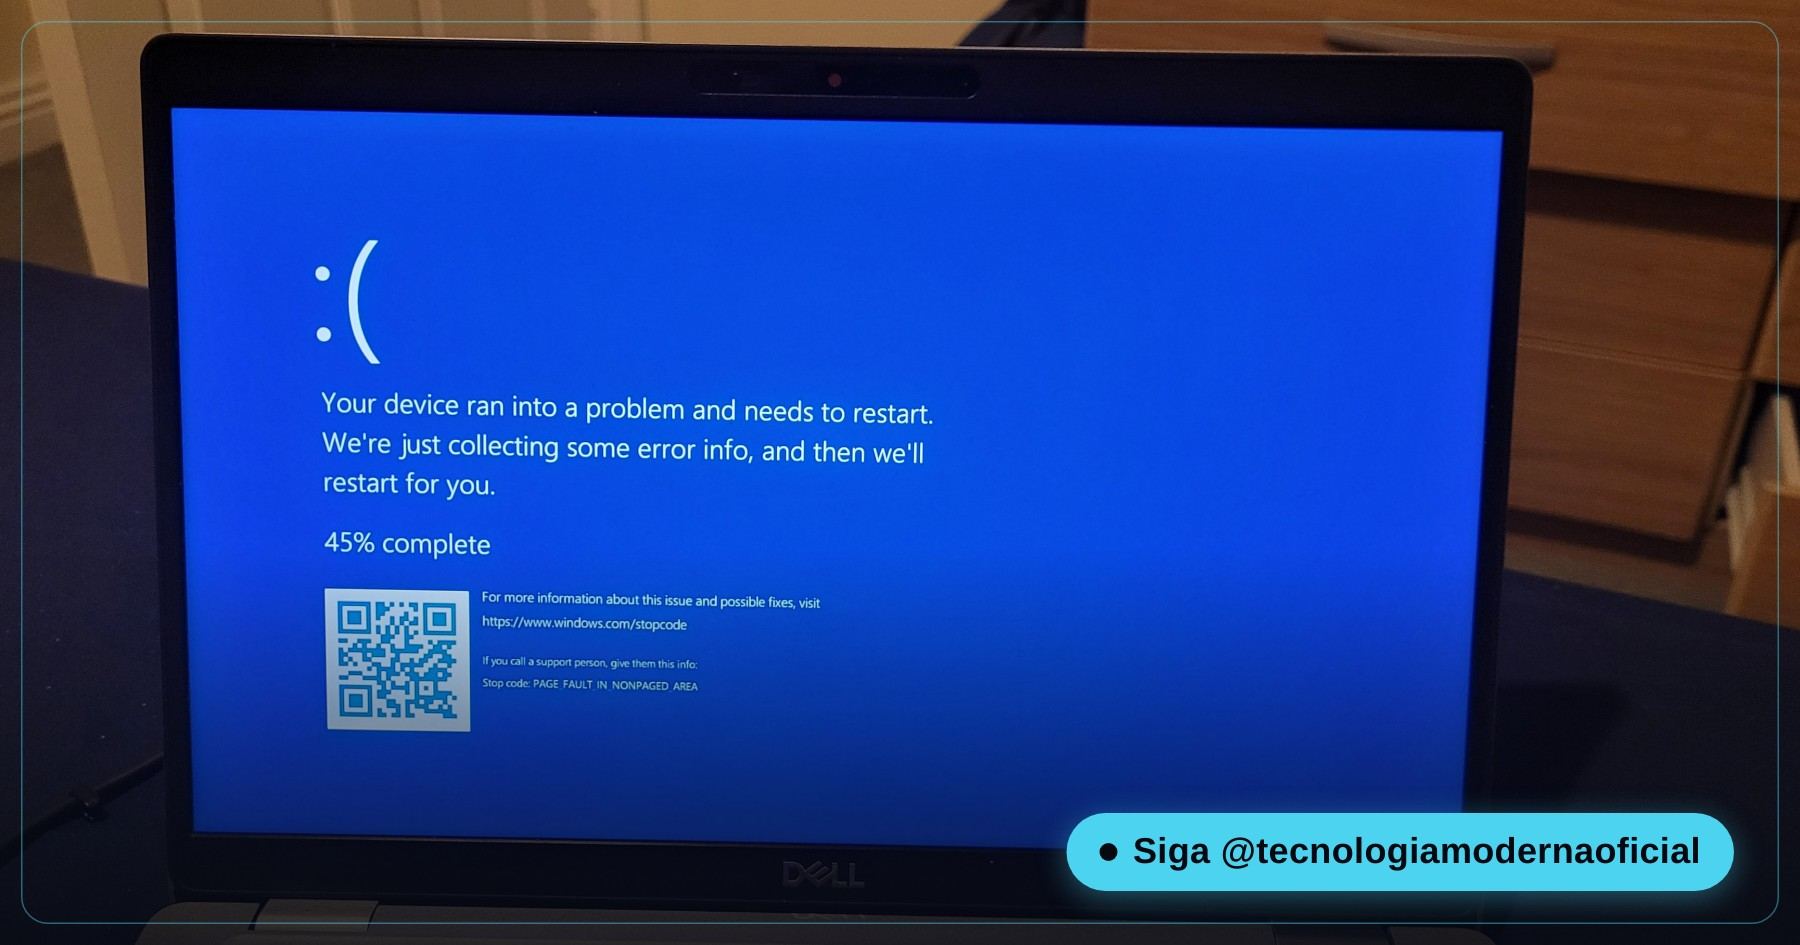
Other faces of the same problem: a “Recovery — Your PC/Device needs to be repaired” screen with an error code (0xc000000f, 0xc0000225, 0xc000000e), a blue screen saying INACCESSIBLE_BOOT_DEVICE, or the dots spinning on the logo forever.
The good news: in many cases Windows is still there and so are your files — what broke is the startup path, a system file or an update that stopped halfway. It can be fixed without reinstalling, and that’s what you’ll learn here, from the simplest step to the most advanced.
🔎 The Most Common Causes (and How to Recognize Each One)
| Symptom | Likely cause | Where to start |
|---|---|---|
| It started right after a Windows update | An update that failed or stopped halfway | Uninstall Updates |
| It started after installing a program or driver | A driver or program that blocks startup | System Restore / Safe Mode |
| Power cut, or you held the power button while it was on | Corrupted system or boot files | chkdsk + sfc + bcdboot |
| Error 0xc000000f / 0xc0000225 “boot configuration data” | BCD (the boot “map”) missing or damaged | bcdboot |
| INACCESSIBLE_BOOT_DEVICE after changing the BIOS | Disk mode changed (AHCI ↔ RAID/RST) | Put the BIOS option back as it was |
| Clicking noise, PC very slow before it stopped | Drive dying | Save your files BEFORE any repair |
🔌 First: the Silly Test That Fixes Many Cases
- Turn the PC off by holding the power button for 10 seconds.
- Unplug everything on USB except keyboard and mouse: flash drives, external drives, phone charging, printer, card reader.
- Remove memory cards from the laptop’s reader.
- Turn it on again.
Why? Many motherboards try to boot from a flash drive or external drive first, and a faulty USB device can hang the startup. If it’s back to normal, the culprit is on your desk — plug things back one by one to find out which.
🚪 How to Get to “Advanced Options” (WinRE)
Everything else in this guide happens in the Windows Recovery Environment, WinRE. There are three ways to get there:
| Situation | How to get in |
|---|---|
| “Your PC did not start correctly” appeared | Click Advanced options |
| Stuck on the logo or restarts by itself | Turn it on and, when the logo appears, hold the power button to turn it off. Repeat. On the 3rd time Windows opens recovery by itself (it does that after 2 failed startups) |
| Not even recovery opens | Boot from a Windows installation USB drive → choose the language → Repair your computer (bottom left corner) |

No USB drive? You can make one on another computer, for free, from the official site: official bootable Windows 11 USB, step by step.
Inside, the path is always: Troubleshoot → Advanced options. We’ll use each option from that menu next.
↩️ Uninstall the Update That Broke Everything
If the problem started after Windows updated (that night it stayed on “Working on updates”), this is the first option to try:
- Advanced options → Uninstall Updates.
- Choose Uninstall latest quality update (the monthly ones) — the most common cause.
- Didn’t work? Go back and try Uninstall latest feature update (the big ones, like 24H2 → 25H2).
- Restart.
⏪ System Restore: the Time Machine
If you installed a driver or program and the PC stopped starting after that, System Restore takes Windows back to an earlier saved point — without deleting your personal files.
- Advanced options → System Restore.
- Choose your user and type the password, if asked.
- Select a restore point from before the problem started.
- Confirm and wait. It can take 10 to 40 minutes — don’t turn it off.
Got “There are no restore points”? Protection was off on this PC. Move on to the commands. And once it works again, turn protection on: see how to restore Windows without losing files.
⌨️ Opening the Recovery Command Prompt
Now comes the part that separates those who reinstall from those who repair. Advanced options → Command Prompt.
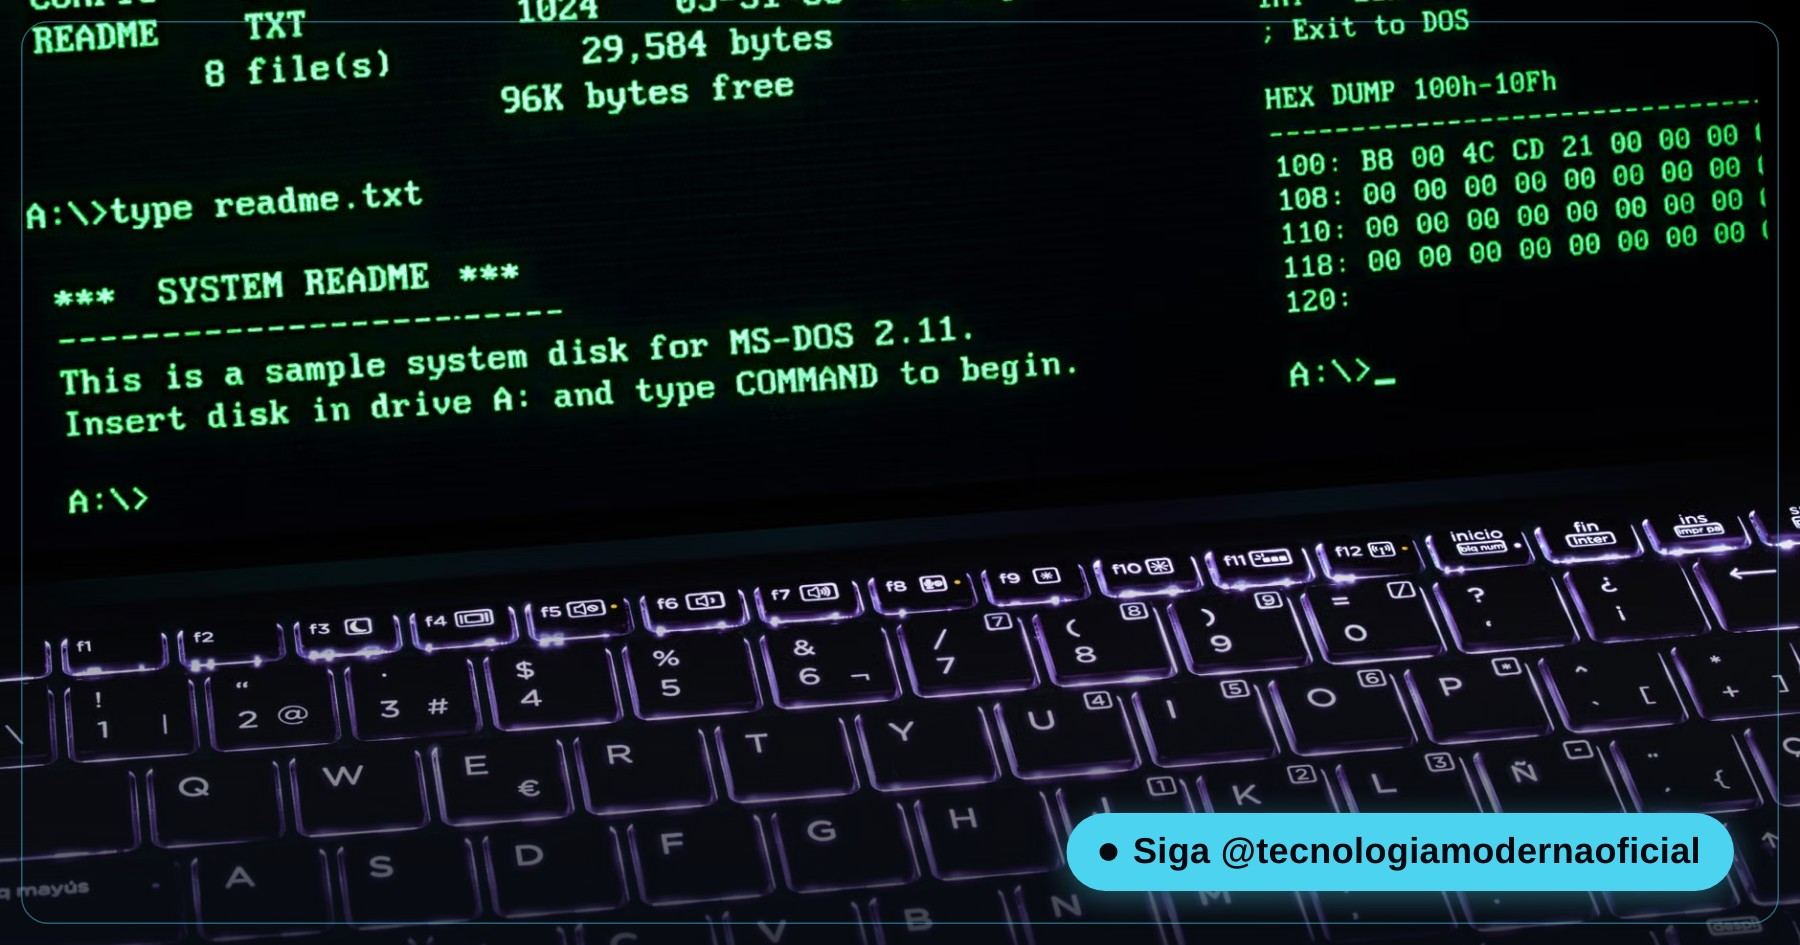
- A black window opens with
X:\Windows\system32>. That X: is the recovery environment itself, running in memory — it’s not your Windows. - If the drive has BitLocker, it will ask for the 48-digit recovery key first. Without it, the commands can’t see the drive. Where to find it: BitLocker recovery key.
- The commands below can be typed in lowercase. Press Enter after each one.
🔤 Find Your Windows Drive Letter (It’s Almost Never C:)
This is the mistake that makes most tutorials “not work”: in recovery, the letters change. The small system partition often becomes C: and your Windows becomes D: (sometimes E:).
diskpart
list vol
exit
list vol shows every partition with its letter, label, file system and size. Your Windows is the big NTFS one (hundreds of GB). To be sure, check that it has a Windows folder:
dir D:\Windows
Listed lots of folders (System32, Fonts…)? Found it. From now on, wherever I write D:, use the letter you found.
🩺 chkdsk: Fixing the File System
Power cuts and forced shutdowns mess up the disk’s “index”. chkdsk checks and fixes it:
chkdsk D: /f
/ffixes the file-system errors it finds. Usually takes a few minutes on an SSD.- Just want to look without changing anything? Run
chkdsk D:without /f. /rscans for bad sectors and takes hours on a big hard drive — don’t use it if you suspect the drive is dying: save your files first.
🧰 Offline sfc: Replacing Corrupted Windows Files
You may know sfc /scannow. But the normal way repairs the Windows that is running — and here your Windows is off. So we use the offline version, pointing at the drive:
sfc /scannow /offbootdir=D:\ /offwindir=D:\Windows/offbootdir= the Windows drive;/offwindir= the Windows folder inside it.- It takes 10 to 30 minutes. The message “found corrupt files and successfully repaired them” is what we want to see.
- Just want to check without changing anything? Replace
/scannowwith/verifyonly.
With the PC working, the full duo (SFC + DISM) is in SFC and DISM: fixing a corrupted Windows.
🧹 DISM: Undoing the Update That Stopped Halfway
When the PC always hangs at the same point after an update and “Uninstall Updates” didn’t help, there may be a pending installation that Windows tries to finish on every startup — and fails. This command cancels it:
DISM /Image:D:\ /Cleanup-Image /RevertPendingActions🛠️ bcdboot: Rebuilding the Startup Path
Error 0xc000000f, 0xc0000225, “boot configuration data is missing”? Windows is intact, but the map that tells the motherboard where it is (the BCD) is gone or corrupted. bcdboot rebuilds that map by copying the boot files from your own Windows.
First, find out if the disk is GPT (UEFI) or MBR (old BIOS):
diskpart
list disk
Is there a * in the Gpt column for your disk? Then it’s UEFI — almost every PC from the last 8 years. Still inside diskpart:
list vol
select vol 3
assign letter=S
exit
Replace 3 with the number of the small FAT32 partition you noted in Command 1. Now rebuild the boot:
bcdboot D:\Windows /s S: /f UEFIExpected answer: a message saying the boot files were successfully created. Close the Prompt, click Continue and Windows should start.
assign: use the letter it already has, for example bcdboot D:\Windows /s C: /f UEFI.MBR disk (no * in the Gpt column), older PCs:
bootrec /fixmbr
bootrec /fixboot
bootrec /scanos
bootrec /rebuildbcd/rebuildbcdlooks for Windows installations and asks if you want to add them: answer Y.bootrec /fixbootanswers “Access is denied” on many Windows 10 and 11 PCs. Don’t panic: usebcdboot D:\Windowsinstead.
list, select vol and assign. Commands like clean, delete and format wipe everything, without asking.🛡️ Safe Mode: Removing the Guilty Driver
If the PC stopped after installing a video driver, antivirus or “optimization” program, Safe Mode starts Windows with only the basics — and from there you uninstall the culprit.
- Advanced options → Startup Settings → Restart.
- In the list, press 4 (Safe Mode) or 5 (Safe Mode with Networking).
- Got in? Control Panel → Programs → uninstall what you installed last. Video driver: Device Manager → Display adapters → Uninstall device.
- Restart normally.
♻️ Reset This PC Keeping Your Files (Still Not a Wipe)
Nothing worked? Before reinstalling from scratch, there’s Troubleshoot → Reset this PC → Keep my files. It reinstalls Windows but keeps your documents, photos and desktop. Programs need to be installed again.
- Choose Cloud download if you have internet: it downloads a clean Windows, more reliable when there are corrupted files.
- Even when keeping files, if you can save something important first (with a bootable USB or by putting the SSD in another PC), save it.
And once everything is back, keep a backup ready for next time: full Windows backup before updating.
🛟 Recovery Drive: Make One Today, Before You Need It
With the PC working, spend a few minutes and get a recovery drive ready. The day Windows won’t start, you boot from it and go straight to Advanced options.
- Get a USB drive of 16 GB or more (32 GB if you tick the system files backup). Everything on it will be erased.
- Press Windows + R, type
recoverydriveand press Enter (or search for “Create a recovery drive” in Start). - Leave Back up system files to the recovery drive ticked: that way the drive can also reinstall Windows.
- Choose the USB drive, click Create and wait (sometimes more than an hour).
- Label it with the PC’s name: it was made for this computer.
✅ Summary: the 6 Commands in Order
| # | Command | What it’s for |
|---|---|---|
| 1 | diskpart → list vol | Find the Windows letter and the boot partition |
| 2 | chkdsk D: /f | Fix the file system |
| 3 | sfc /scannow /offbootdir=D:\ /offwindir=D:\Windows | Replace corrupted Windows files |
| 4 | DISM /Image:D:\ /Cleanup-Image /RevertPendingActions | Cancel an update that stopped halfway |
| 5 | bcdboot D:\Windows /s S: /f UEFI | Rebuild the startup path (UEFI) |
| 6 | bootrec /rebuildbcd | Rebuild the boot on older PCs (MBR) |
FAQ
Windows Automatic Repair keeps looping. What should I do?
Click Advanced options and follow the order: uninstall the latest update, System Restore and, if that doesn’t work, the Command Prompt with chkdsk, offline sfc and bcdboot.
Do I have to reinstall Windows when it won’t start?
Most of the time, no. The files are still on the drive; what breaks is the startup, an update or system files, and all of that can be fixed from the Recovery Environment.
Why does the command say drive C: doesn’t have Windows?
Because letters change in the Recovery Environment. Use diskpart and list vol, or dir D:\Windows, to find the right letter, usually D:.
bootrec /fixboot said access is denied. What now?
That’s common on Windows 10 and 11. Use bcdboot D:\Windows /s S: /f UEFI after giving letter S to the FAT32 system partition in diskpart.
How do I get to advanced options if the PC doesn’t even show the repair screen?
Hold the power button when the logo appears, twice in a row. On the third startup Windows opens recovery. Or boot from the installation USB and choose Repair your computer.
Does offline sfc delete my files?
No. It only replaces corrupted Windows system files with the original copy. Documents, photos and programs aren’t touched.
The Command Prompt asked for a recovery key. What is it?
It’s the 48-digit BitLocker key. It’s usually in your Microsoft account at account.microsoft.com/devices/recoverykey. Without it the commands can’t access the drive.
Is Reset this PC keeping my files the same as a full reinstall?
No. It reinstalls Windows but keeps documents, photos and desktop. Programs need to be installed again.
What’s the difference between GPT and MBR when fixing the boot?
GPT disks use UEFI boot and are fixed with bcdboot pointing to the FAT32 system partition. MBR disks, on older PCs, use the bootrec commands.
The hard drive makes noise and Windows won’t start. Can I run chkdsk?
Not before saving your files. A physically failing drive can get worse with chkdsk /r. Recover the data first, then try to repair or replace the drive.
🎮 How much did you learn?
Once you pick an answer it locks in — reload the page to try again.
1. In the recovery Prompt, drive X: is:
2. Which command rebuilds the startup path on a UEFI PC?
3. The problem started right after an update. The first step is:
4. How do you know if the disk is GPT?
5. Which diskpart command must you NEVER use in this repair?
Esse conteúdo ajudou você?
Compartilha com alguém que também vai curtir — é rapidinho e ajuda muito o nosso trabalho a chegar em mais gente.
Conhecimento só tem valor quando compartilhado.
Manter essa estrutura de laboratórios funcionando e produzir conteúdos de engenharia de forma totalmente gratuita e acessível exige tempo e dedicação diária à bancada. Esse guia salvou os seus arquivos? Você pode contribuir diretamente para manter o nosso trabalho independente forte. Apoie doando qualquer valor!
Quer apoiar a nossa bancada independente?
[email protected]